Step 1: Confirm the Symptoms Before You Cut Anything
Run through this checklist in the affected room. Two or more positives means subfloor moisture is likely present.
- Soft, spongy, or flexing flooring underfoot, especially within 6 feet of a plumbing fixture.
- Cupping (edges raised) or crowning (centers raised) in hardwood planks.
- Dark staining, swelling, or delamination at laminate seams.
- Loose grout, cracked tile, or rocking tiles over a previously solid floor.
- Musty odor that intensifies at floor level or near baseboards.
- Visible water staining on basement ceiling drywall or crawl space joists below the room.
- Elevated humidity readings (above 60% RH) in the room with no obvious source.
- Nail pops or fastener telegraphing through vinyl plank or sheet goods, indicating subfloor movement.
- Baseboards that have separated from the wall by more than 1/16 inch, or paint blistering at the base trim.
Step 2: Take Moisture Readings With the Right Tools
- Use a pinless moisture meter on the finished floor surface in a grid pattern, every 24 inches.
- Record baseline readings from a known-dry area in the same room (typically 6 to 12% MC for wood, under 1% on the relative scale for tile substrate).
- Flag any reading 2 points or more above baseline as suspect.
- For confirmation, use a pin meter through grout lines, expansion gaps, or an inconspicuous edge to reach the subfloor.
- Subfloor plywood and OSB are considered wet above 16% MC. Anything 19% MC or higher requires aggressive drying or removal.
- Photograph each reading with the meter visible. Insurance adjusters in Thorntown regularly request this documentation.
- Run a thermal imaging sweep alongside meter readings. Cold spots that align with elevated MC values confirm active moisture rather than residual staining.
If you do not own these tools, Thorntown Water Restoration provides free moisture mapping during an in-home assessment. See our overview of hidden leak detection methods for the same diagnostic approach we use on wall cavities.
Step 8: Realistic Thorntown Repair Costs
- Moisture assessment and mapping: $0 to $350.
- Emergency water extraction: $400 to $1,200 depending on standing water volume.
- Structural drying (3 to 5 days, equipment + monitoring): $1,200 to $3,500.
- Subfloor removal and replacement: $6 to $12 per sq ft for plywood, including demo and disposal.
- Joist sistering or repair: $150 to $400 per joist.
- Hardwood refinishing over dried subfloor: $4 to $8 per sq ft.
- Full subfloor + finished floor + drywall repairs in a typical Thorntown kitchen (120 sq ft footprint): $4,800 to $11,500.
- Mold remediation if discovered during demo: add $500 to $3,000 depending on square footage.
Most homeowner policies in Thorntown cover sudden subfloor damage under dwelling coverage. For a full breakdown of line items adjusters expect to see, review the complete water damage restoration cost breakdown.
Step 9: Post-Repair Verification
- Re-test moisture content at the patch perimeter 7, 14, and 30 days after closure.
- Confirm relative humidity in the room stabilizes between 35 and 55% RH across a full weather cycle.
- Inspect the patch from below (basement or crawl space) for any new staining at the 30-day mark.
- Retain all moisture logs, photos, and invoices for a minimum of 3 years in case of a supplemental claim or future property disclosure in Thorntown.
Step 5: Decide Between Drying in Place and Removal
Use these thresholds to make the call.
- Dry in place if: water is Category 1, subfloor MC is below 25%, contact time is under 72 hours, and finished flooring can be lifted or has already been removed.
- Remove subfloor if: MC exceeds 28%, delamination is visible in plywood plies, OSB has swelled more than 1/8 inch, contact time exceeds 72 hours, or water is Category 2 or 3.
- Partial removal is acceptable. Cut 12 inches beyond the last elevated moisture reading, follow joist centers, and maintain a 16-inch or 24-inch repair footprint for clean sistering.
- When in doubt, pull a 6-inch inspection coupon from the worst reading area. Visible black streaking, fiber separation, or a soft probe push confirms removal is the correct call.
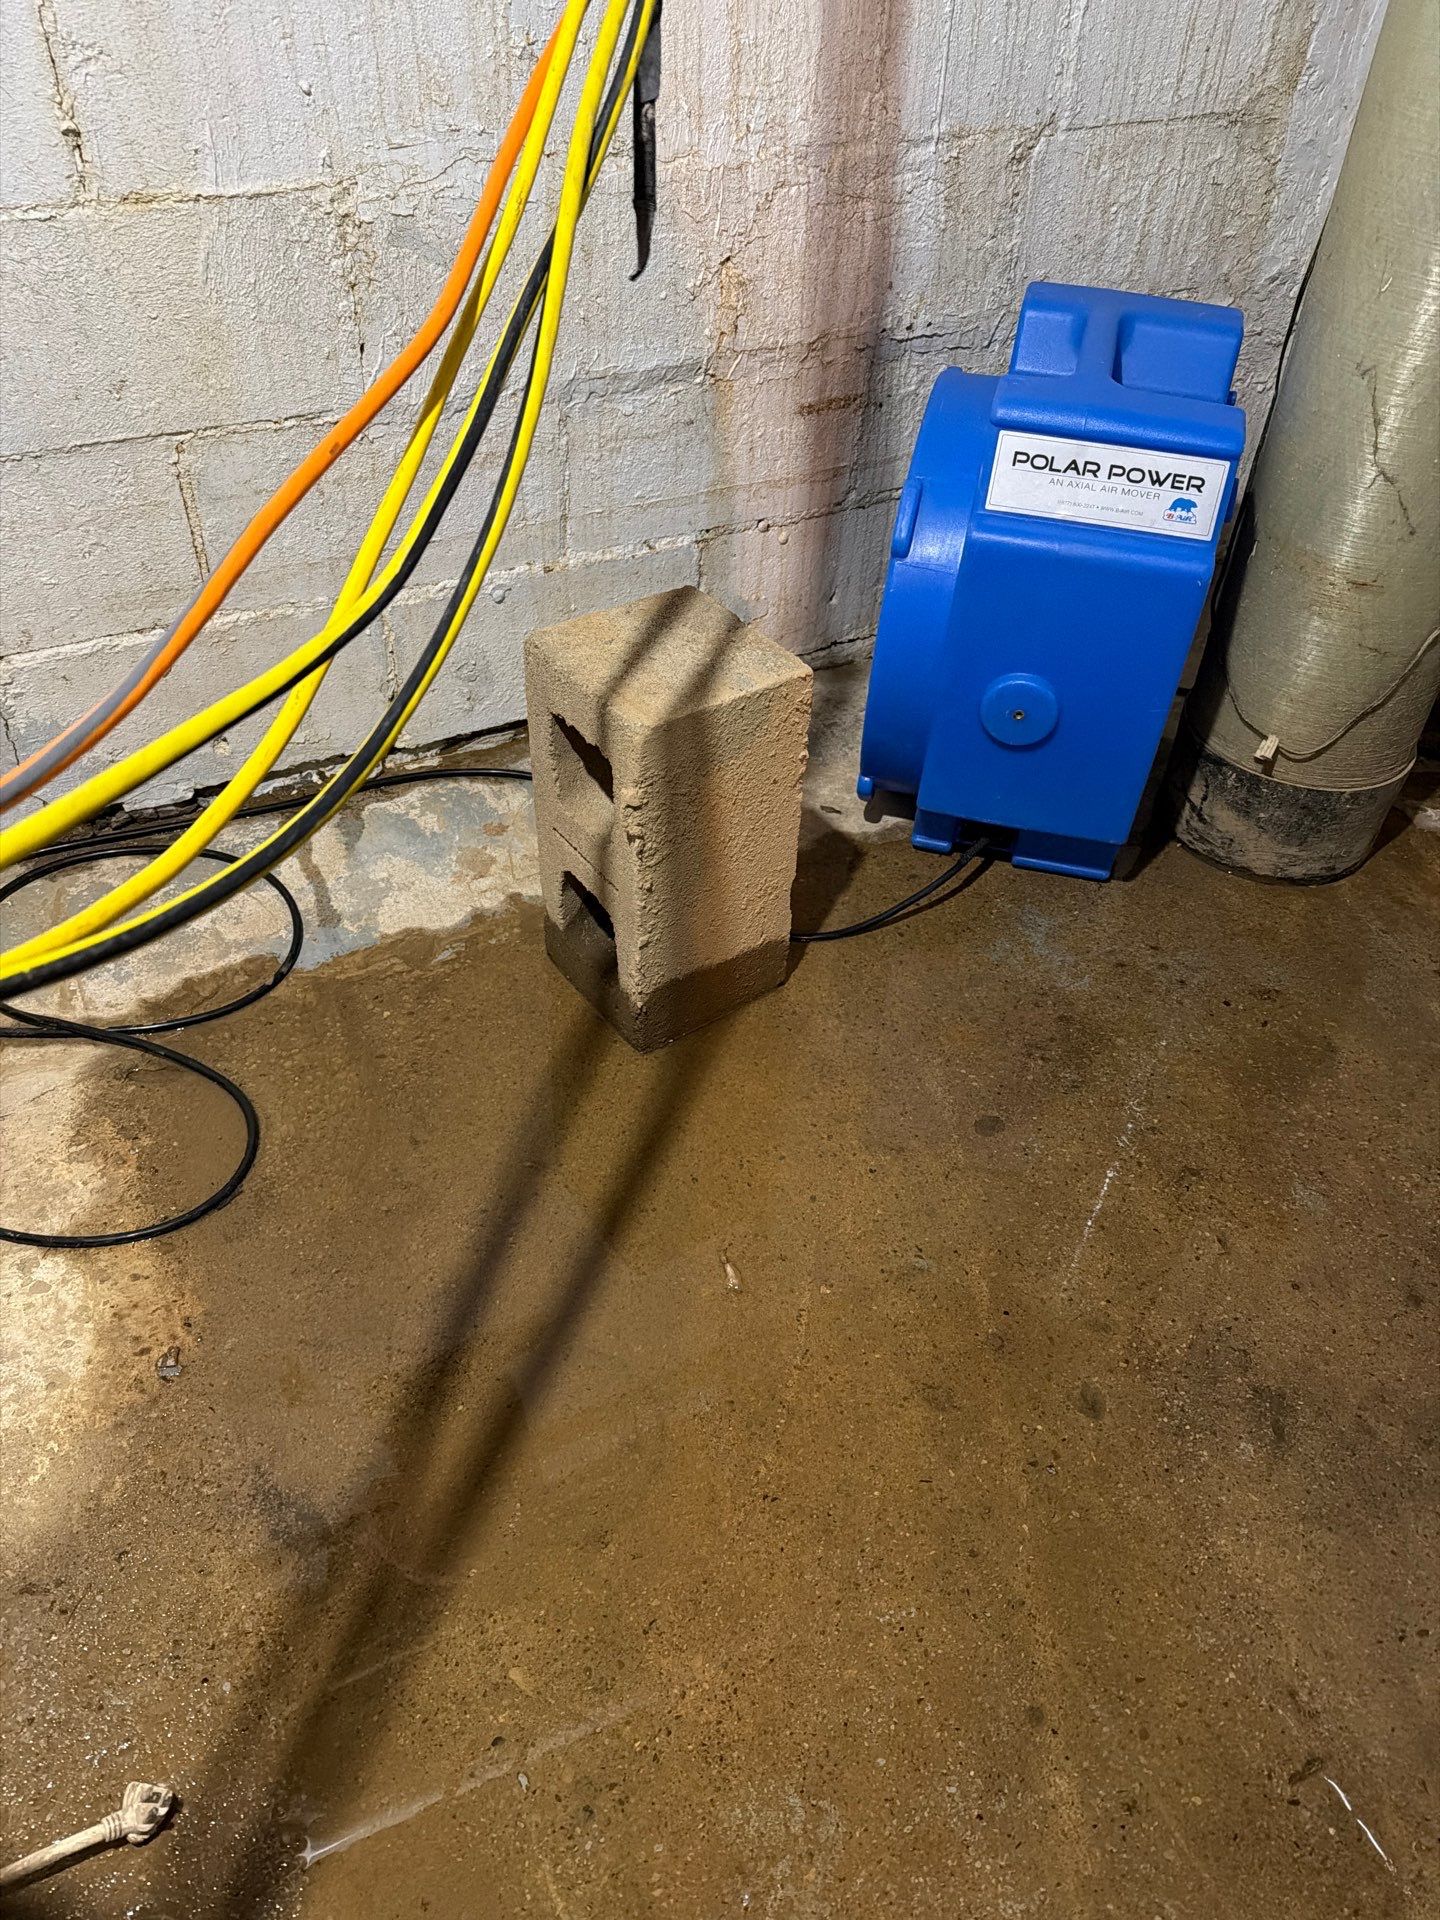
Step 6: Drying Protocol When Subfloor Is Salvageable
- Deploy 1 LGR dehumidifier per 800 to 1,200 sq ft of affected area.
- Position 1 air mover per 10 to 16 linear feet of wall, angled at 15 to 45 degrees.
- Inject air under hardwood with a floor mat system if planks are being saved.
- Target 30 to 50% RH and a temperature of 70 to 90 F.
- Re-measure MC every 24 hours. Expect 3 to 5 days for plywood, 5 to 7 days for OSB.
- Drying is complete when subfloor reads within 2 points of the dry baseline for 48 consecutive hours.
- Apply an EPA-registered antimicrobial to all exposed subfloor surfaces before reinstalling finished flooring, even on Category 1 losses.
Step 7: Removal and Replacement When Required
- Cut the finished flooring back 6 to 12 inches beyond the damage line.
- Score the subfloor along joist centers using a track saw set to material thickness (typically 3/4 inch).
- Pry out the damaged section, inspect joists for rot, and treat any darkened framing with a borate solution.
- Sister compromised joists with matching dimensional lumber and structural screws spaced 6 inches on center.
- Install replacement subfloor (tongue-and-groove plywood preferred over OSB for wet-area repairs), glued and screwed at 6 inches on edges, 12 inches in the field.
- Verify flatness within 3/16 inch over 10 feet before reinstalling finished flooring.
- Allow construction adhesive to cure for the manufacturer-specified time (typically 24 hours) before loading the patch with tile backer or hardwood.
Step 4: Classify the Water and the Damage Class
- Category 1: Clean supply line water. Safe to extract and dry in place if caught within 24 to 48 hours.
- Category 2: Grey water from dishwashers, washing machines, or aquariums. Requires antimicrobial treatment and often selective removal of porous materials.
- Category 3: Black water from toilet overflows, sewage backups, or floodwater. Subfloor that contacted Category 3 water is removed, not dried. Reference our Category 3 cleanup guidance for specifics.
- Class 1 through 4 ratings (per IICRC S500) determine drying equipment load. Subfloor saturation typically pushes a loss to Class 3 or Class 4.
- Category can escalate over time. Clean water sitting more than 48 hours at room temperature is reclassified as Category 2 by most restoration protocols.
Step 3: Identify and Stop the Source
- Shut the local supply valve for the suspected fixture (under-sink stop, toilet stop, or ice maker line).
- If the source is unclear, close the main water shutoff and run a meter test for 15 minutes. Movement at the meter with all fixtures off confirms an active leak.
- For drain-side leaks, fill the trap and watch for drips below.
- For ceiling staining from above, mark the wettest point and probe upward, not outward.
- Document the source with photos before any repair. Insurance carriers separate sudden and accidental losses (typically covered) from long-term seepage (typically excluded).
- Check appliance supply braids, refrigerator water lines, and dishwasher inlet fittings. These three failure points account for a large share of Thorntown kitchen subfloor claims.